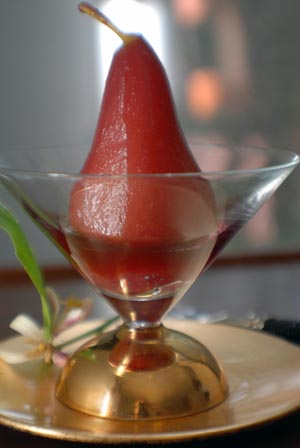
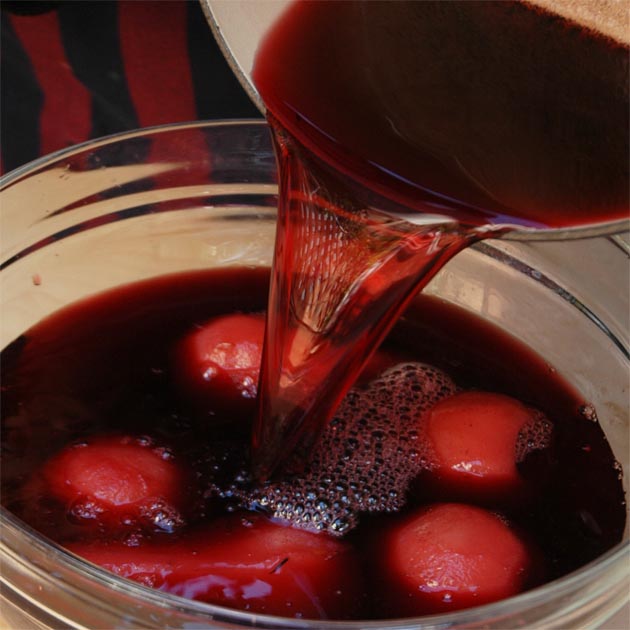
A beautifully poached pear in red wine is at once simple and a culinary work-of-art. Dressed up with a fragrantly spiced, ruby-red reduction sauce and freshly whipped cream, it dazzles the eyes while blithely dancing over one’s taste buds.
At first glance you might think it a shi-shi, labor-intensive dish best enjoyed at a restaurant. Nothing could be further from the truth, especially when you know the secrets to success—and that it’s the ultimate make-ahead dish.
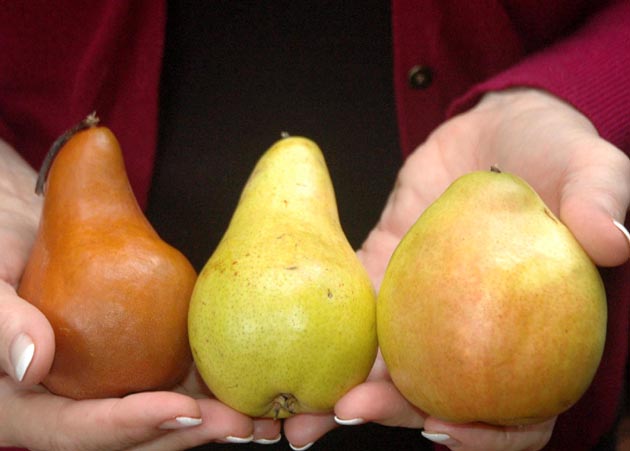
Let’s start with the pear itself. With so many choices available in the markets, know that firmer pears such as sweet and juicy Anjou, Bosc and Concord hold their shapes well when heated. Bartletts (red and yellow), Comice and Starkrimson, while tasty, are best saved for eating fresh.
And the thing most recipes don’t tell you: size matters. Select small to medium-sized pears comfortably eaten in one sitting. There is nothing worse than wowing everyone at your table with these beauties, only to have them moaning and complaining that it’s too much to enjoy.
As you sort through all the produce bins, notice that most pears are rock hard and inedible. That’s because they are typically picked before their prime to better withstand the rigors of shipping. Don’t be nervous about buying hard pears; you can let them soften on your kitchen counter with excellent results.
Make sure your pear is nicely ripened before poaching: Apply gentle pressure to the neck and bulbous portions. Both should be of equal firmness, yielding just slightly to pressure. Do not wait for the fruit to soften significantly or change color—these are signs that it is overripe. If you don’t plan to poach the pears immediately, extend their shelf life by storing them in the refrigerator 3–5 days.
Back in the kitchen, poaching pears is super easy when you know these tips.
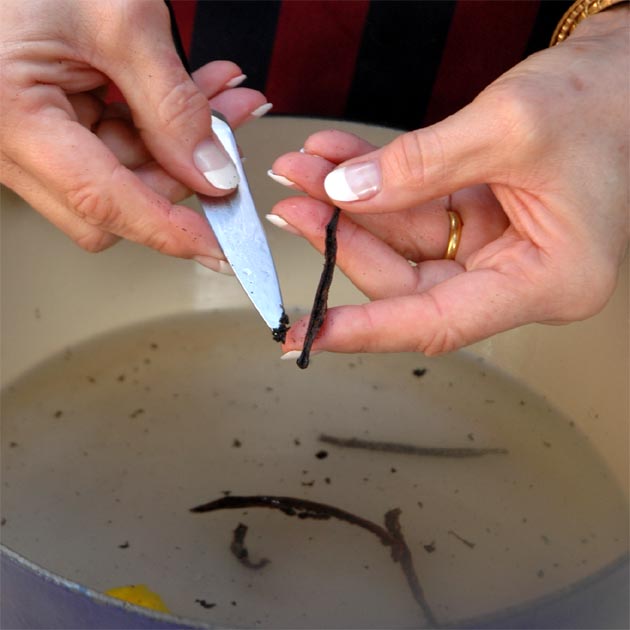
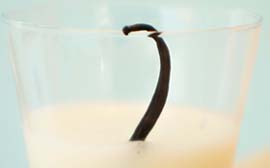
1. Choose a fragrant, supple vanilla bean. Avoid the dry twig like ones unless they are your only option. Need help with vanilla beans? Print out my illustrated, step-by-step instructions on How To Split and Scrape a Vanilla Bean.
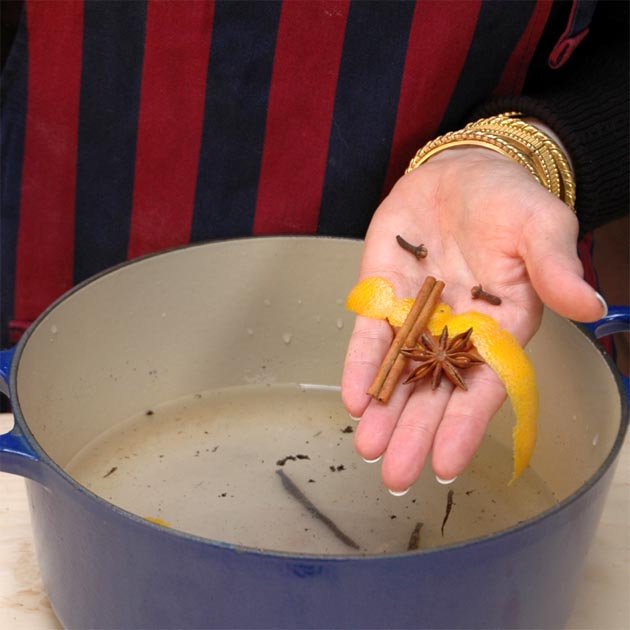
2. Collect the spices and orange zest. Never zested oranges before? Not to worry. Print out my illustrated and How To Zest Citrus.
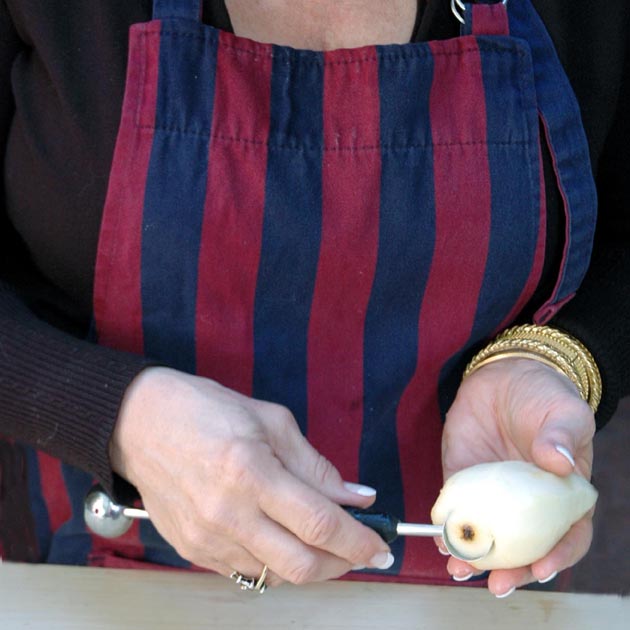
3. Cut a small slice from the bottom of the pear before poaching to give it a stable base. Then watch it stand tall on the plate, with no “whoops” at your table.
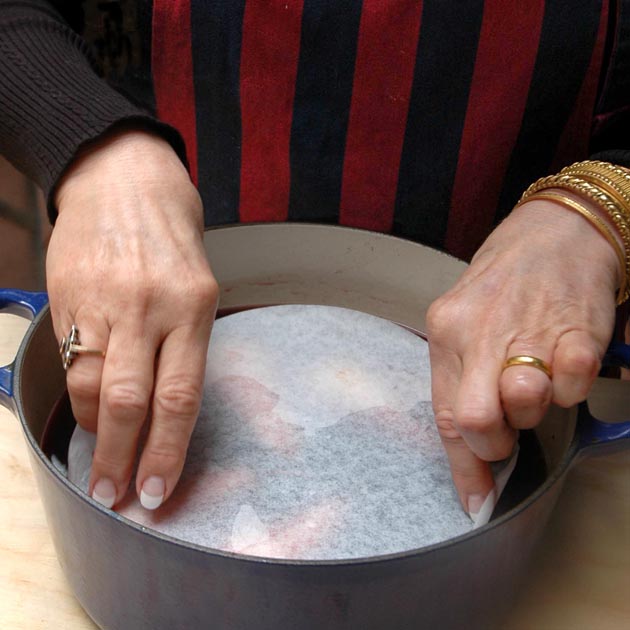
4. Bobbing pears can lead to uneven cooking. Laying a piece of parchment paper over the pears as they cook keeps them in their place. Either purchase packaged pre-cut circles or, cut one slightly smaller than the diameter of the poaching pot.
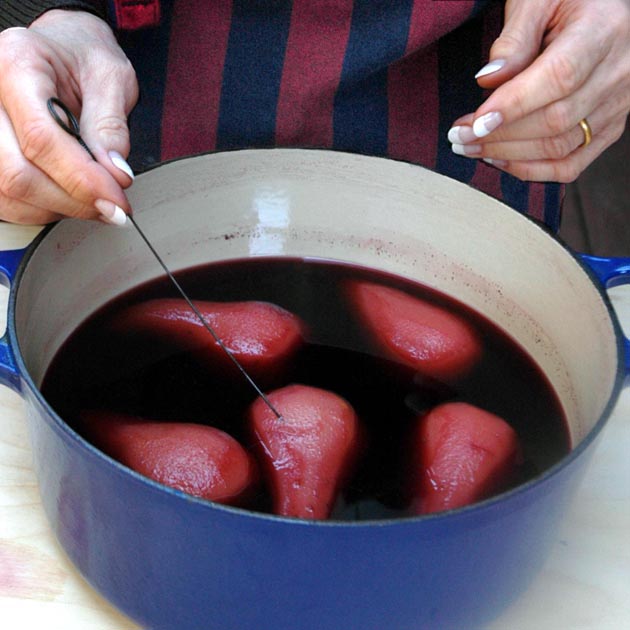
5. Keep pears from overcooking by removing them from the hot poaching liquid as soon as a toothpick inserted glides through easily. Mushy pears taste fine, but ding easily and make a less-than-pretty presentation.
6. You can save time on the day of a special event by poaching the pears one to two days in advance, then refrigerating them in their liquid. To prevent overcooking, remove the pears from the pot as soon as they’re tender, then allow the syrup and fruit to cool separately. Return the pears to the cooled liquid, cover and refrigerate. Know that varieties like Bosc and Anjou keep as long as four to five days, but lose some of their lovely spiceness.
7. When it comes to accompaniments, don’t let the idea of a reduction sauce put you off. The recipe offered here is not temperamental, won’t break and adds a sophisticated flavor to the finished dessert. You don’t need much. I start with one half cup of poaching liquid for each pear. Reduced to a quarter cup, it provides just enough goodness to spoon a small pool into a pretty serving bowl and drizzle the remainder over the pear.
8. You may be tempted to use chocolate sauce on this pear: don’t. Know that I love chocolate sauce—the really good stuff made from best-quality chocolate and cream—but it’s not a great pairing here. The rich, spicy reduction sauce complements the pear well and sends your taste buds soaring. Chocolate muddies the experience, ultimately boring the palate.
9. …and now, a sinfully good little secret for using leftover poaching liquid: sorbet. Prepare an extra pear and place it in a blender with the liquid, then blitz until smooth. Process in an ice cream maker according to manufacturer’s instructions. Absolute heaven!
Print out illustrated, step-by-step copies of How To Split and Scrape a Vanilla Bean and How To Zest Citrus, and the recipe Poached Pears in Red Wine for your convenience.


