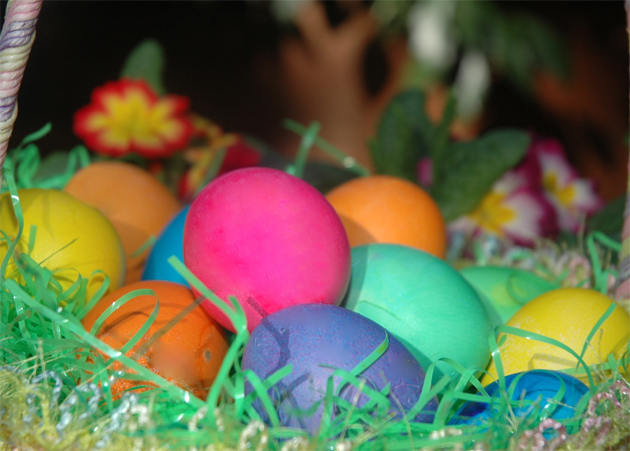
Colored Easter eggs make me smile.
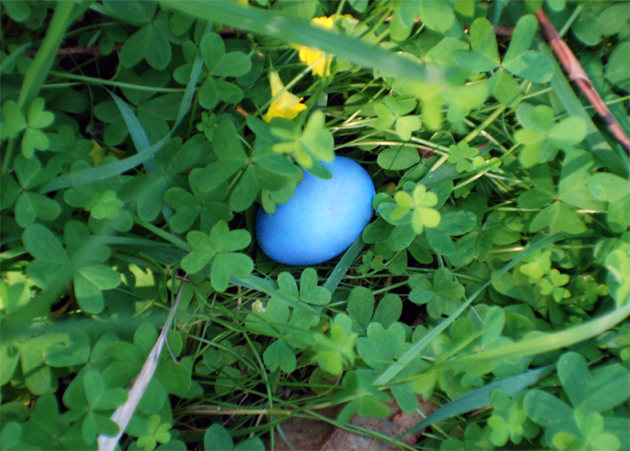
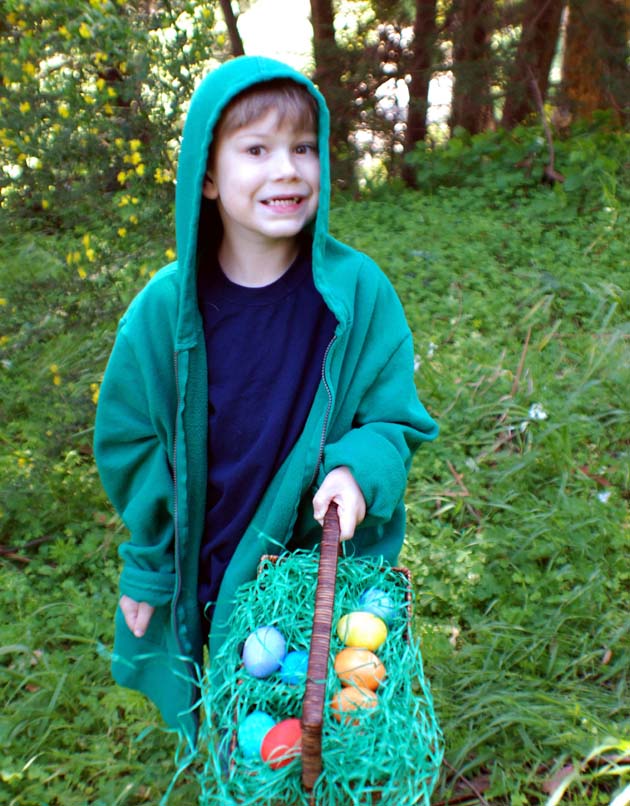
I hide them in the in the grass for the kids to find on Easter morning…
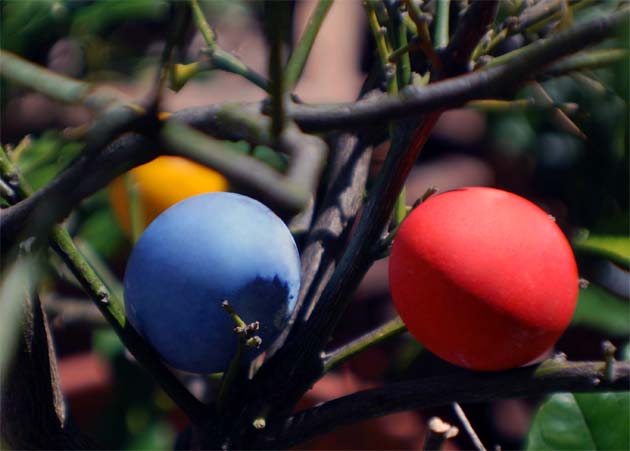
…and in the trees for the pure joy of seeing their smiles.
We’ve cooked and colored dozens of eggs for our Beyond Wonderful photo shoots in the last couple of weeks. One thing is for sure: truly beautiful Easter eggs are more than shell deep.
I have a simple, no fuss way that consistently produces the creamiest, best-tasting hard-cooked eggs on the planet. No more flavorless overcooked, dry, green-tinged yolks. Yuck!
It’s easy and stress-free! I promise.
First, something I learned the hard way years ago: fresh eggs are not your friend here. They are totally difficult if not impossible to peel. Use the older eggs in your refrigerator or buy them three to ten days before hard-cooking.
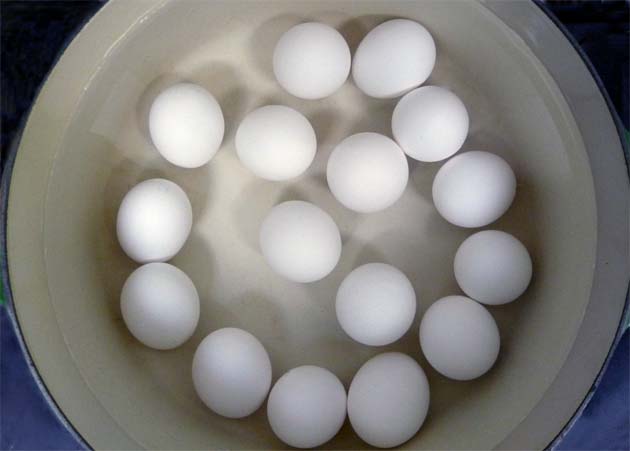
Place your eggs—straight from the refrigerator—into a saucepan. Add just enough cold water to cover the eggs by 2 inches. Bring to a boil.
Remove them from the heat and cover the pan with a tight-fitting lid. Let the eggs sit 11–12 minutes. Drain.
Increase the sitting time if you’re cooking a large number of eggs.
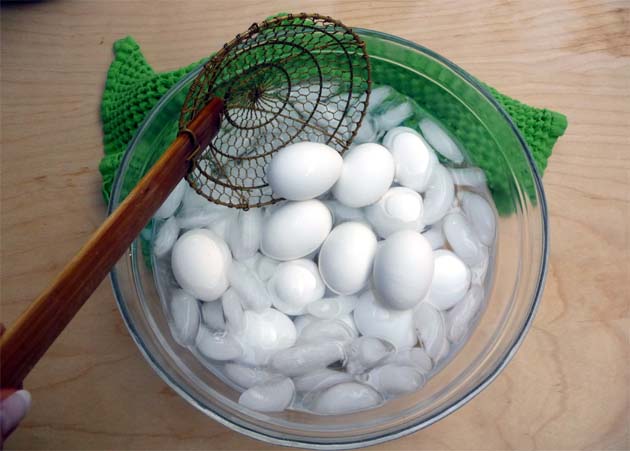
Plunge the eggs into ice water to stop the cooking process. That’s it! You’re done.
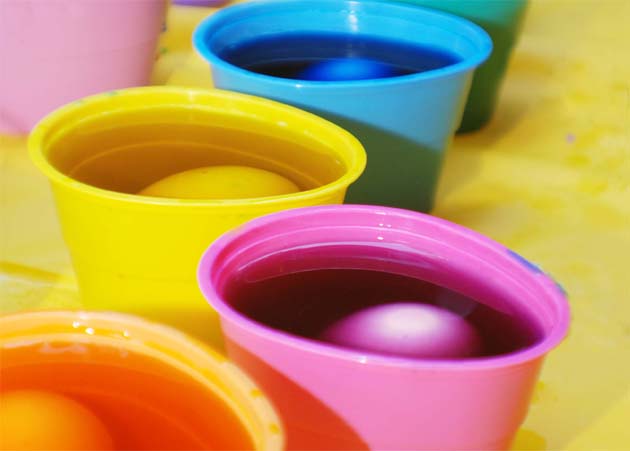
Call the kids! It’s time to start dying and decorating these beauties.
When finished, store the eggs in the refrigerator up to 7 days. Peeled eggs should be eaten the same day although they never last that long around the Beyond Wonderful team.
Head to the kitchen! A basket full of colored, hard-cooked eggs means the most wonderful egg salad for sandwiches for lunch.
Happy Easter!
Print out my illustrated, step-by-step instructions on Perfect Hard-Cooked Eggs.
