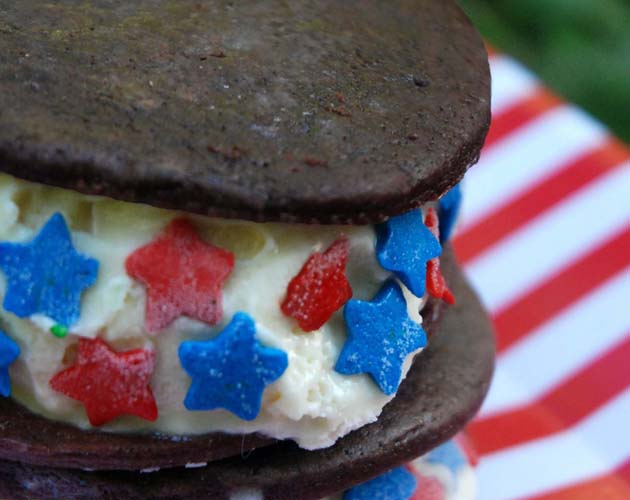
 Go on, take a bite. Just one and you’ll know why everyone screams for these ice cream sandwiches. To my mind, the wonderfully soft, dark chocolate wafers made with Dutch-process cocoa and deepened with espresso powder are perfection. Fill them with a generous scoop of your favorite flavored ice cream and you’ll never go back for store-bought again!
  Big eyes. Little tummies. The tiny-fingered crowd at my house loves the 2-inch rounds, especially when joyfully decorated with brilliantly colored sprinkles. Gone are the days of sticky, gooey puddles of abandoned too-big treats…or worse yet, tummy aches.
  Big, full-sized ice cream sandwiches all decked out with red and blue stars for Independence Day tickle my fancy. What’s not to love? Be it declared: absolutely no guilt allowed. None. I bought my first chocolate wafer “sammie” off the ice cream truck that drove through my neighborhood on hot summer days. What a treat! Years later, there were no trucks in the hills of MillValley, so I made the sandwiches for my kids. We got creative and cut the wafers into our favorite shapes and filled them with what seemed like a million flavors: mint, vanilla, banana, cherry pecan, coffee and all the crazy Ben & Jerry mixtures. One thing is for sure, they are super easy and stress-free when you know a few tricks. 1. Roll the wafer dough 1/8-inch thick instead of the standard 1/4-inch. You want a thin, soft wafer that melds into the ice cream as you bite, finishing with wickedly good chocolate crumbs. 3. Bake the chocolate wafers until just set. You may fret thinking they’re still raw, but trust me and remove from the oven. They firm up as they cool and remain soft through the freezing process. Over-baked wafers become crisp and break easily. 4. After baking, place the cooled, empty, parchment-lined cookie sheets in the freezer for 15 minutes before filling. This helps prevent melting as you work—especially when the kitchen becomes hot during the summer months. 6. Soften the ice cream slightly—just enough to scoop—approximately 12 to 15 seconds in the microwave. 7. Working in batches, place six cookies on a flat working surface and fill with ice cream. Top with a second cookie. Lightly press the sandwiches to distribute the ice cream. Using clean hands quickly press the sprinkles or decorations on the sides of the sandwich. 9. Set the sandwiches on the cold cookie sheet in the freezer and firm up for several hours. Repeat the process until completed. 10. Hide your favorite ice cream sandwiches deep in the freezer or they’ll mysteriously disappear when you’re not looking. Today’s indulgence is tomorrow’s sweet memory. Print a copy of my Chocolate Wafer Ice Cream Sandwiches recipe for your convenience.
June 9th, 2015


