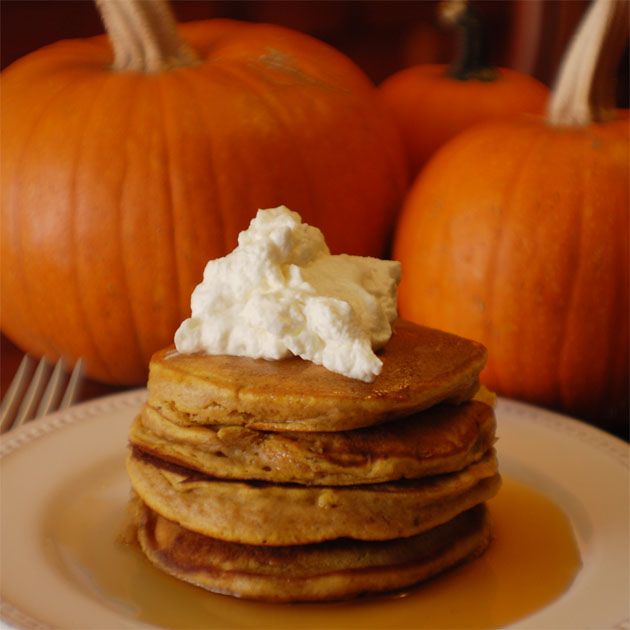
Grab your hammers and cleavers, we’re roasting pumpkins for holiday pies, cakes, breads—and the most scrumptious pumpkin pancakes around. So are you up for roasting pumpkins? “No, no, no, no”, you say. “That’s not for me.” As a novice cook, I felt the same way. Pumpkins came in a can from the supermarket for the express purpose of making pies once a year. Who knew that fresh pumpkins were easy to use—and suitable for so many dishes? My friend and produce expert, Dan Avakian, encouraged me to start roasting my own pumpkins then taught me how. It was painless from the start, and now it’s so easy that I can roast and freeze a year’s supply in one afternoon. 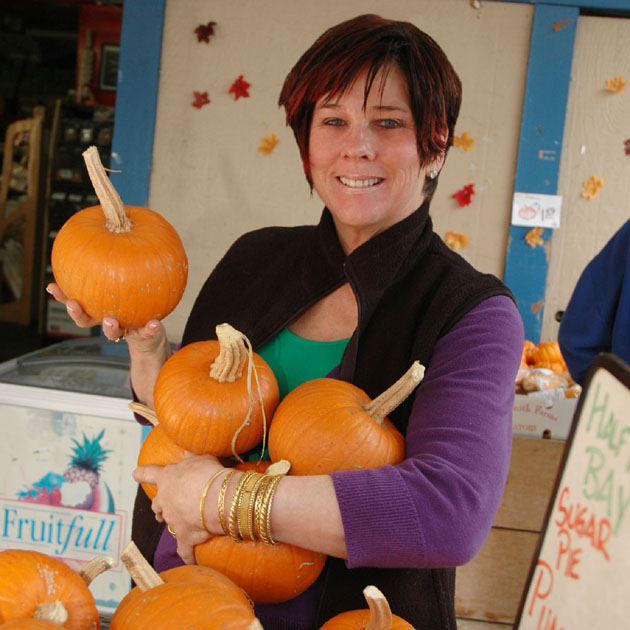 Today, my kitchen counter is filled with edible pumpkins that I bought at Dan’s open-air produce market last Saturday. I stocked up on my favorite, orange Sugar Pie variety. Dan showed me other possibilities like the Green Fairytale, Cinderella, Australian Queensland Blue (aka Jarradale) and Lumina whites. With so many choices, I had lots of questions and felt lucky that someone as knowledgeable as Dan was there to answer them. It reminded me that you should always get to know your local produce people and fearlessly ask them anything on your mind. Not only will they guide you to your best options and values, but they’ll also suggest new ideas that will enhance your menus.
The one thing about roasting pumpkins that most people don’t know is that you cannot eat the decorative varieties grown for Halloween jack o’ lanterns. If you have some uncut ones left over, use them as autumn decorations.
Let’s get to work. The pumpkin roasting process takes a few hours of prepping, baking and pureeing—so if I’m doing a large batch, I set up an assembly line to move things along efficiently. Of course if you’re just doing one pumpkin it’s all even easier. Either way, it’s great fun to knock off the pumpkin stem with a hammer, split it with one good whack of a cleaver and scoop out slimy pumpkin goop and seeds with your hands. Your reward is a deeply flavorful and marvelously textured product that beats anything in a supermarket can.
1. Preheat the oven to 375 degrees.
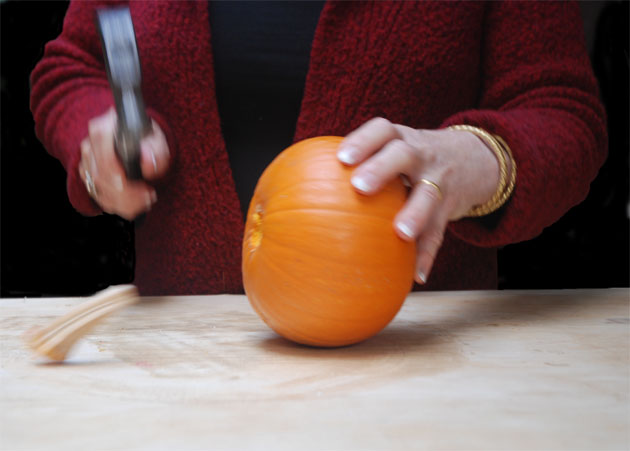
2. Remove the pumpkin stem by giving it a good whack with a hammer.
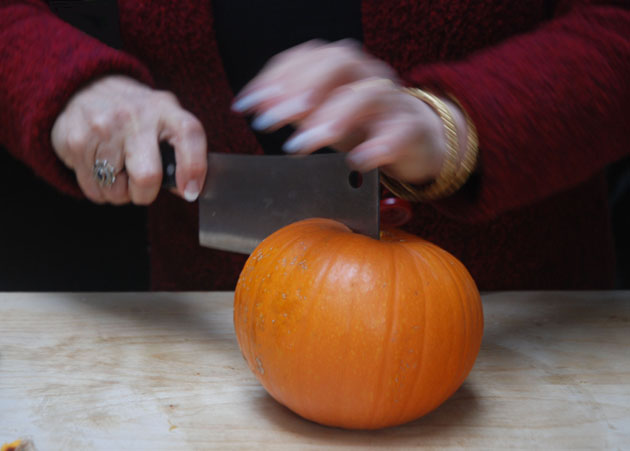
3. Cut the pumpkin in half—top to bottom—using a sharp cleaver or chef’s knife. NOTE: Never use a dull or thin knife or you may cut yourself or break the knife.
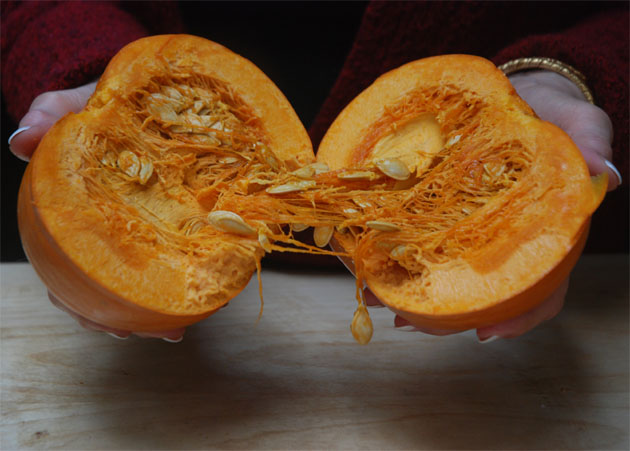
4. Pull the sides of the pumpkin apart.
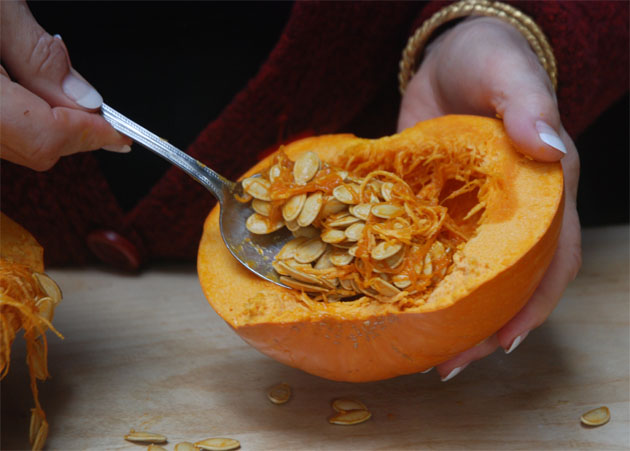
5. Scoop out the stringy pumpkin goop and seeds with a large spoon or your clean hands. Save the seeds for roasting.
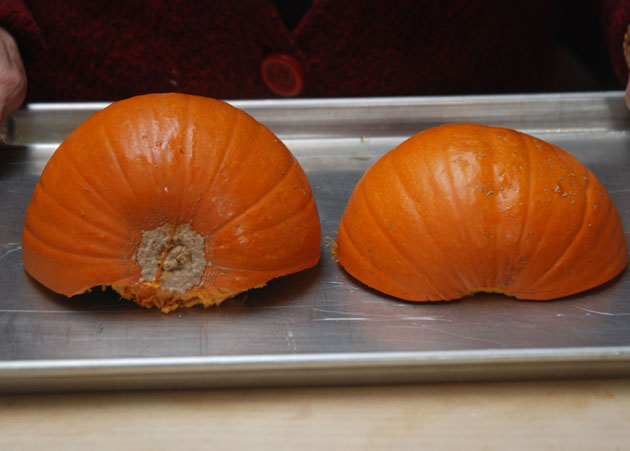
6. Place the pumpkin halves—cavity side down—on a baking sheet. Bake in the preheated oven for 45 minutes.
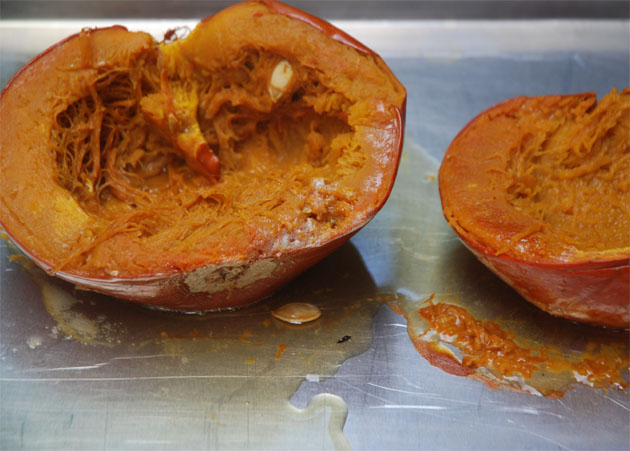
7. Remove the pumpkins from the oven and turn them over—cavity side up. Reduce the heat to 350 degrees and bake an additional 15–30 minutes, or until a fork goes through the flesh easily.
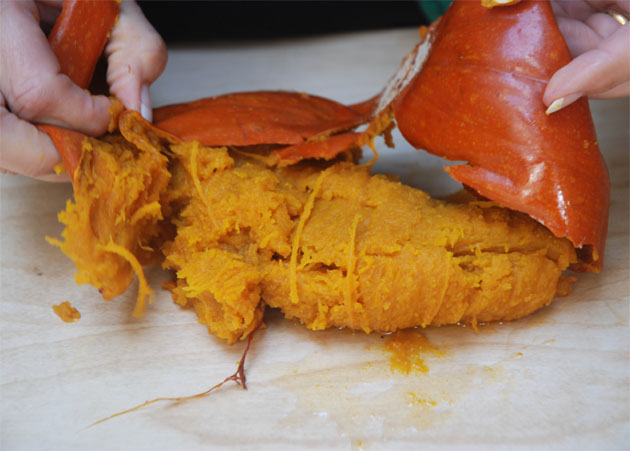
8. Remove the pumpkin halves from the oven and let them cool for one hour.
Peel the outer skin away with your fingers. (The peel comes off easily once cooked.)
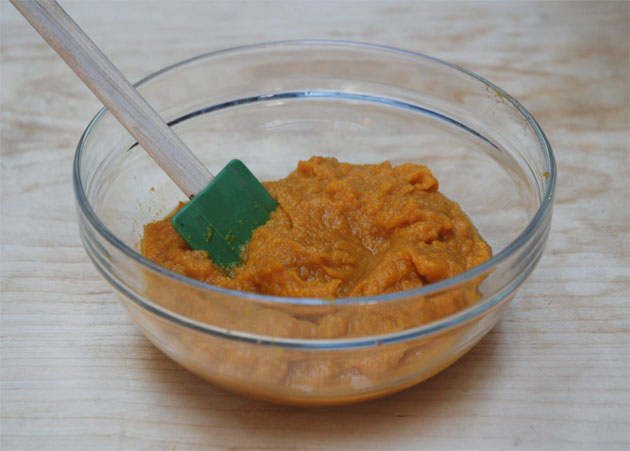
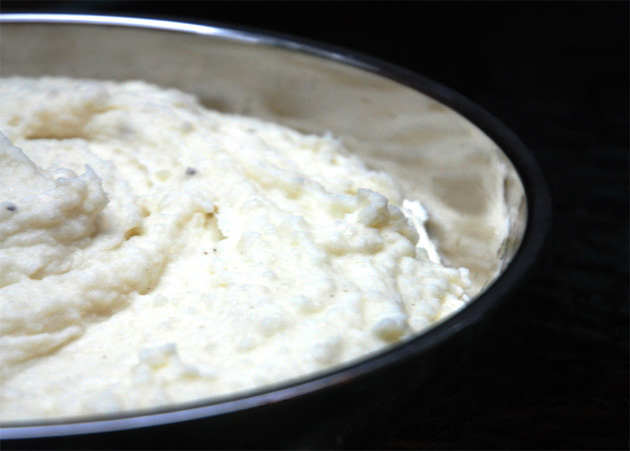
9. Puree the pumpkin using a food mill, food processor, blender or immersion blender.
Add a few tablespoons of water to the pumpkin get the process going.
10. Store the pumpkin puree in the refrigerator for several days or freeze it in airtight zip-top bags. Be sure to lay the freezer bags on a cookie sheet when freezing so that they will remain flat and easy to handle. Otherwise you’ll end up struggling to pry bags off of your freezer shelf.
Print out my illustrated step-by-step How To Roast Pumpkins and recipe for Pumpkin Pancakes for easy reference.
