Whip a dip so good you’ll flip! <br>Strawberry Cheesecake Dip - Mulligatawny Soup - Chocolate Mousse Pie </br>Little Piece of my Heart - Dressed to Impress; Mastering Classic Vinaigrette - Pop Quiz! What’s the best way to uncork Champagne?  </br> Michael DeLoach -

In the Pink
Authentic Agua de Sandia (Watermelon Water)

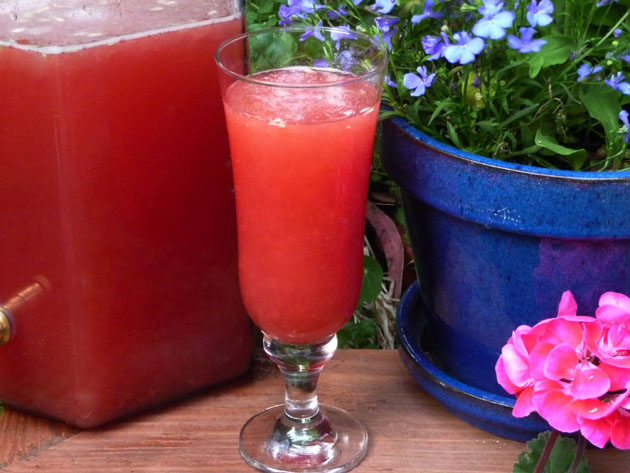
It’s so hot outside and I’m meeeelting—but not for long. There is a big jug of Mexican agua de sandia (watermelon water) in the refrigerator to cool me off. Simple to make, this irresistible, brilliant pink thirst-quencher requires a big ripe watermelon, a little sugar, a couple of sprigs of mint if you’re feeling fancy—and a blender. Oh, how I love my blender in the summer.

There is no hard and fast recipe as the proportions of juice to sugar are up to you. How much juice do you want—a simple pitcher full or a spouted jug big enough for a group? Know that nine pounds of watermelon yields approximately 8 cups of agua de sandia. Adding sugar depends on the sweetness of your melon and personal preference. Usually 1 to 1½ cups does the trick for this size melon.

Ripeness is key to the taste of agua de sandia. Selecting a good watermelon and cubing it for juicing is easy with the illustrated, step-by-step tips included in my May 25 blog entry, Sweet, Salty, Simply Summer: My Favorite Watermelon Salad.

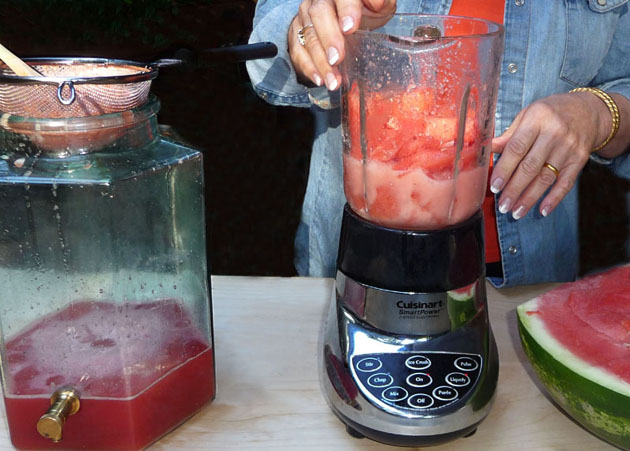
When making juice, I always set-up a simple station and work in batches: 1) bowl of cubed watermelon; 2) blender for liquefying the watermelon and 3) a metal strainer set over a bowl or wide-mouth jug to remove any pulp. When completed refrigerate the juice for 2–4 hours or until icy cold.

Serve the agua de sandia in tall glasses with a sprig of mint—or not. (Although, I must say that this gorgeous pink drink with scented green mint is good for the soul on a hot day like today.)

I don’t know about you, but I’m heading out to a shady spot in the garden with a good book and glass in hand. And if I’m lucky, a cool ocean breeze with blow in soon. If not, another glass should do the trick.


Guacamole

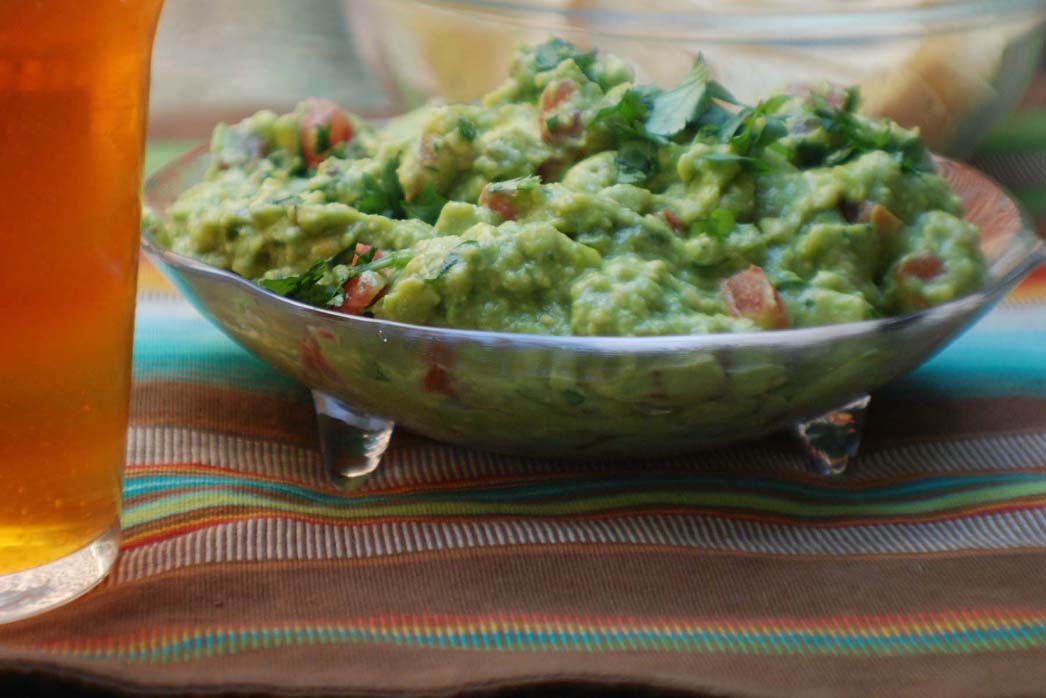
Homemade guacamole is pure sunshine on a chip! There is nothing better on a blistering hot day, except maybe guacamole plus an icy cold beer.

Over the years I’ve fine-tuned my recipe for maximum flavor, texture and color. To my mind it’s a perfect balance of avocados, tomatoes, chiles, scallions, cilantro, salt and pepper— all pulled together with fresh lime juice. The secret to success is perfectly ripe avocados. Accept nothing less or you’ll end up with a bowl of flavorless goop.
Read more…

Eggs of a Different Color
Best Hard-Cooked Eggs

Colored Easter eggs in a basket


Colored Easter eggs make me smile.

 Colored Easter egg hidden in the grass.


I hide them in the in the grass for the kids to find on Easter morning…


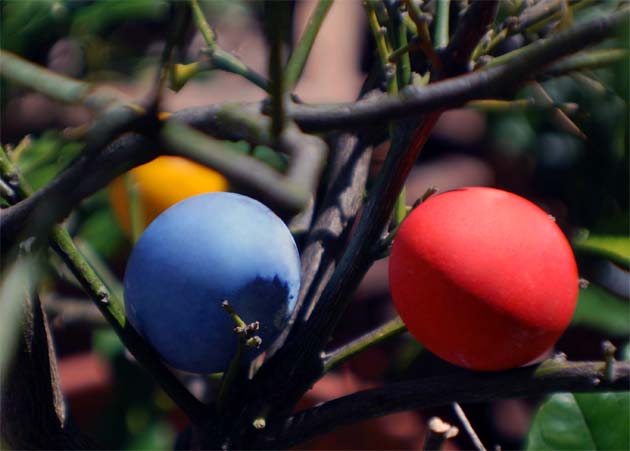
Colored Easter eggs hidde.n in the trees


…and in the trees for the pure joy of seeing their smiles.

We’ve cooked and colored dozens of eggs for our Beyond Wonderful photo shoots in the last couple of weeks. One thing is for sure: truly beautiful Easter eggs are more than shell deep.

I have a simple, no fuss way that consistently produces the creamiest, best-tasting hard-cooked eggs on the planet. No more flavorless overcooked, dry, green-tinged yolks. Yuck!

It’s easy and stress-free! I promise.

First, something I learned the hard way years ago: fresh eggs are not your friend here. They are totally difficult if not impossible to peel. Use the older eggs in your refrigerator or buy them three to ten days before hard-cooking.


How To hard-cook eggs


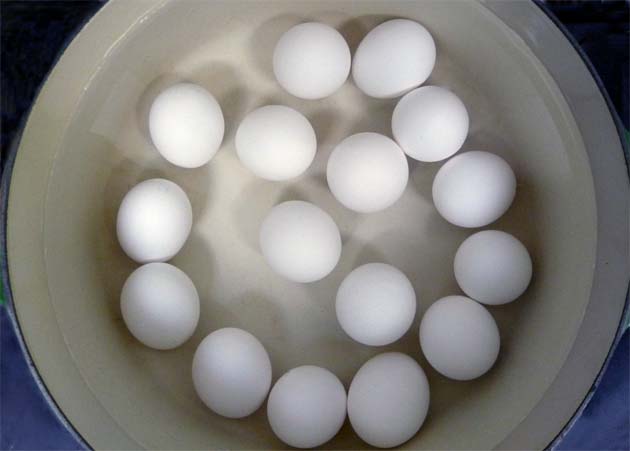
Place your eggs—straight from the refrigerator—into a saucepan. Add just enough cold water to cover the eggs by 2 inches. Bring to a boil.

Remove them from the heat and cover the pan with a tight-fitting lid. Let the eggs sit 11–12 minutes. Drain.

Increase the sitting time if you’re cooking a large number of eggs.


How To Hard-Cook Eggs


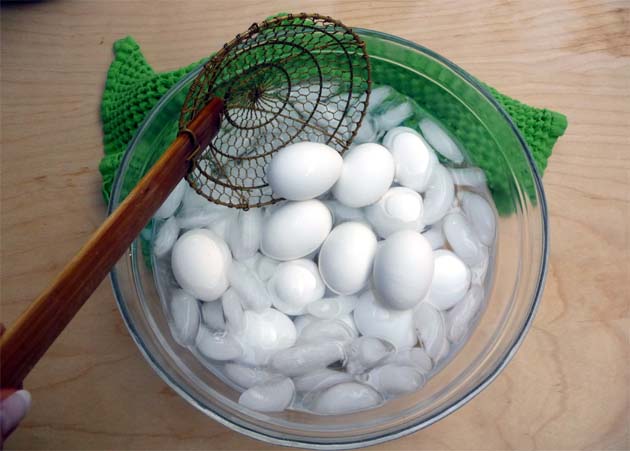
Plunge the eggs into ice water to stop the cooking process. That’s it! You’re done.


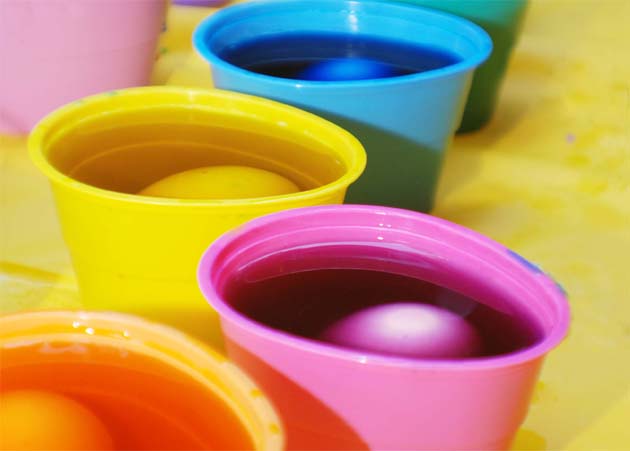
Dying color Easter eggs


Call the kids! It’s time to start dying and decorating these beauties.

When finished, store the eggs in the refrigerator up to 7 days. Peeled eggs should be eaten the same day although they never last that long around the Beyond Wonderful team.


Basket full of colored Easter eggs


Head to the kitchen! A basket full of colored, hard-cooked eggs means the most wonderful egg salad for sandwiches for lunch.

Happy Easter!


Print out my illustrated, step-by-step instructions on Perfect Hard-Cooked Eggs.


Coco Loco
Coconut Cupcakes

Coconut Cupcakes

How can one little ol’ coconut cupcake give so much pleasure?

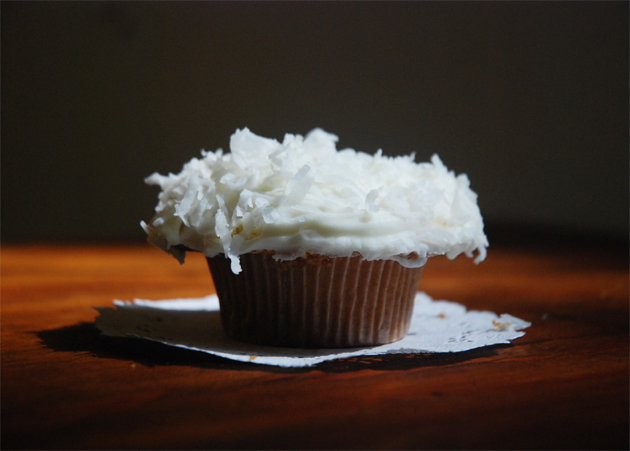
Coconut Cupcake with Ultimate Cream Cheese Frosting

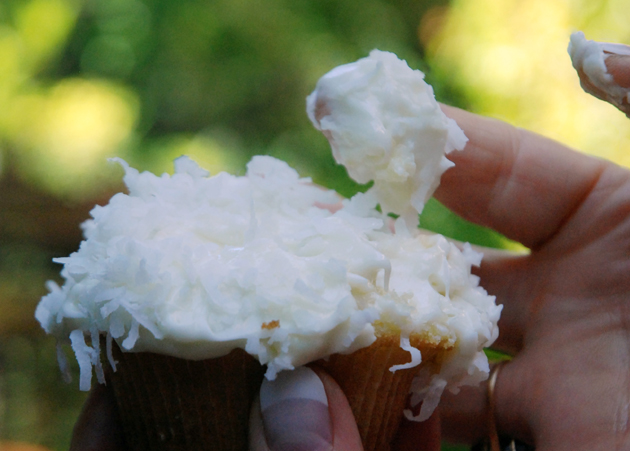
Could it be the irresistible cream cheese frosting thickly slathered over the top and sprinkled with strands of sweet coconut?

Coconut Cupcakes with Ultimate Cream Cheese Frosting

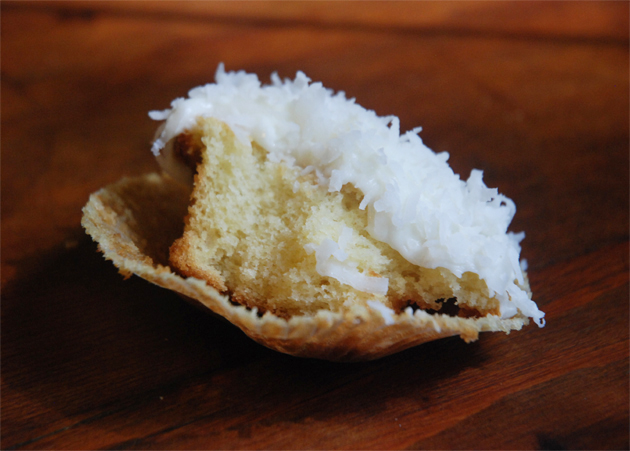
Or is it the small piece of moist, melt-in-your mouth yellow buttermilk cake hidden just below? Break it open and look at its soft buttery crumb… then breathe in the delicate vanilla scent.

Coconut Cupcakes with Cream Cheese Frosting

How can this little bit of coconut heaven get any better?

Coconut Cupcake with Ultimate Cream Cheese Frosting and Candle

A brilliant, celebratory candle and a rousing chorus of Happy Birthday do it for me.

And when tossing and turning just after midnight wondering if you should get up and indulge: do it! Go quietly without guilt. Scoop, lick and savor every last crumb. Being naughty is so much fun!

Print a copy of my Coconut Cupcake with Ultimate Cream Cheese Frosting recipes for your convenience.


Angel Food Cake

Angel Food Cake recipe


There is an angel food cake in the oven that is filling the kitchen with sweet smells of vanilla and whiffs of almond. Heaven! Now, if no one slams the door or stomps through the room we should be in good shape.

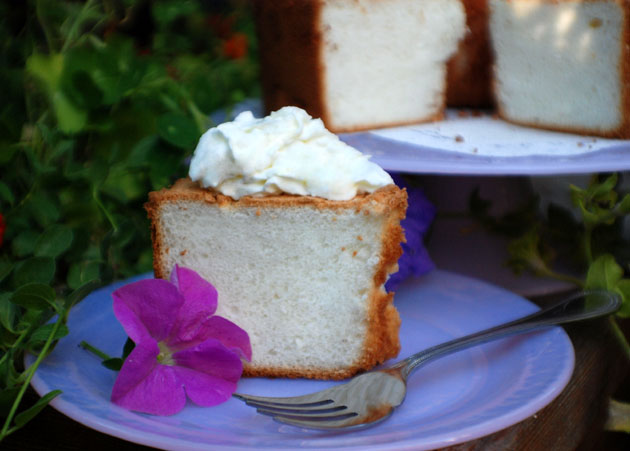
This airy, pure white cake is an American classic that gets its height from clouds of stiffly beaten egg whites. The good news—there is no oil or butter to add inches to your hips or raise your cholesterol Baked in a tube pan, angel food is the most-often requested cake at Beyond Wonderful and a personal family favorite. I often serve a plain slice decorated with a pretty flower, or dress it up with fresh seasonal fruit, berries, lemon curd, ice cream or a variety of dessert sauces. Angel food is also terrific cubed for dipping into chocolate fondue, or sliced for a creamy fruit trifle.

No one knows exactly who created this simple confection but it’s suspected that it originated with the Pennsylvania Dutch during the late 1800s, which is when the cake first began appearing in cookery books. Historians speculate that this frugal group created the cake as a way to use up egg whites left over when the yolks were used to make noodles. Metal cake molds dating back more than a hundred years testify to the Pennsylvania Dutch’s impressive baking tradition.

So, why are lots of novice bakers afraid to tackle this longstanding favorite? Perhaps it’s because the cake—while simple in ingredients—does require a few specific techniques that may be unfamiliar. I must admit that my first time making angel food was a bit nerve-wracking. There was so much to think about that I hadn’t done before. But I organized the ingredients in advance, followed the recipe exactly and ultimately produced a spectacular cake that tasted and smelled divine and wowed everyone at the table. Now, I could make one in my sleep.

It’s really easy, and you have a guide with great tips—me! Let’s get started:

1. Use cake flour, not all-purpose flour. This finely textured flour is made from softer wheat with a high starch content that is perfect for angel food, chiffon and sponge cakes. You’ll find it boxed in the baking section of your supermarket.

2. Use superfine sugar as it dissolves quickly and is perfect with egg whites. It’s available in supermarkets or you can make your own by whirling ordinary granulated sugar in a food processor for a minute.

3. Sift, sift, sift, sift the flour as directed in the recipe—a whopping four times. It makes all the difference in the final product.

4. Bring your eggs to room temperature and you’ll be rewarded with a higher volume of whipped whites.

5. When you separate the eggs, make sure that absolutely no bits of yolk stray into the whites. The presence of any yolk at all will prevent the whites from forming the required stiff peaks. Print out my illustrated, step-by-step guide on How To Separate Eggs for easy reference.

6. Wash the bowl that you’ll whip the egg whites with hot, soapy water to remove any grease from previous use. If in doubt whether you’ve gotten all the grease, rub the interior with a half lemon.

7. Gently fold the flour and sugar into the beaten egg whites, being careful not to deflate them. Don’t let this scare you; just don’t approach this step with aggression or too much enthusiasm.

8. Pour the batter into an ungreased 10-inch tube pan. Leaving the pan ungreased is key, since it causes the batter to cling to the sides as it rises, resulting in optimum volume.

9. Release air pockets by running a knife through the batter. Don’t skip this step or your cake will end up with holes that ruin the perfect texture.

10. Place the cake on the lowest rack in your oven so that it doesn’t brown too quickly. You want a light brown color when it’s finished.

11. Invert the cake onto a long-necked bottle or metal rack to cool. It’s important to cool the cake in this upside-down position; otherwise it will collapse on itself.

12. Slice the cake gently with a sharp, serrated knife; a standard blade will squish it.

13. Get a fork and dig in!

Barbara Adams eating angel food cake.

This is so worth the effort. Today a bit of cream, tomorrow berries…or maybe lemon curd.